How to Set Up a Google Maps API Key With Billing
If your website has a map on it, a store locator, an embedded map on your contact page, driving directions, address autocomplete in a form, it’s almost certainly running on the Google Maps Platform. And to use that platform, Google needs two things from you: an API key, and a billing account attached to it.
That word “billing” makes a lot of business owners nervous. It shouldn’t. For most small and mid-sized websites, the maps stay free. Google just wants a payment method on file before it lets your key make live requests.
This guide walks you through the whole setup, start to finish. It takes about ten minutes. You’ll come away with a working API key, locked down so only your sites can use it, with billing switched on correctly.
Why you need an API key (and why we ask for it)
Google Maps isn’t a free-for-all anymore. Every map, every search box, every set of directions on your site is an API request, and each request has to be tied to a project and a key that Google can identify.
When we build or maintain your website, we need your key so the maps render on your domain. We can create one for you, but the cleanest setup is for the key to live in your Google account. That way you own it, you can see the usage, and you’re never locked out if you ever move agencies. We just need you to share it with us once it’s ready.
Will this cost me anything?
Probably not. Here’s the honest version.
Google used to give every account a flat $200 monthly credit. That changed on 1 March 2025. The credit was replaced with a free monthly usage allowance for each individual API. For the everyday maps SKUs most business websites use, that’s around 10,000 free loads a month before any charge applies.
To put that in plain terms: a contact-page map or a store locator on a typical Sydney business site rarely comes close to that limit. You’ll likely sit at $0 every month. Billing has to be on for the key to work at all — but “billing on” is not the same as “being billed.”
If you ever do run a high-traffic site that exceeds the free tier, you only pay for what you use, and the rate drops as volume climbs. We monitor this for clients on a retainer, so there are no surprises.
Quick reassurance: No credit card details are shared with us at any point. You enter them directly into your own Google account. We never see them.
Before you start
You’ll need:
- A Google account (a personal Gmail or a Google Workspace account both work)
- A credit or debit card to attach to the billing account
- About ten minutes
Let’s go.
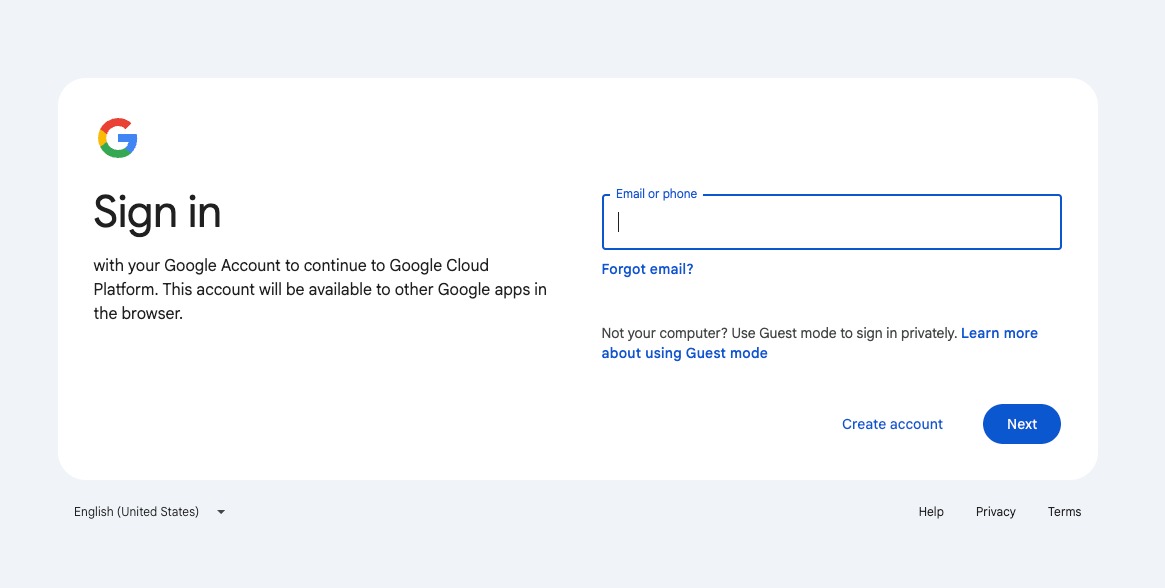
Step 1 – Sign in to the Google Cloud Console
Head to console.cloud.google.com and sign in with your Google account. This is the control panel for everything Google Maps Platform related.
Step 2 – Select or create a project
Everything in Google Cloud lives inside a “project.” Think of it as a folder that holds your API key, your settings, and your usage history.
- If you already have a project, select it from the dropdown at the top of the screen.
- If you don’t, click New Project, give it a clear name (something like “Maps API” or your business name), then click Create.
Wait a few seconds for the project to spin up, then make sure it’s the one selected in the top bar before you carry on.
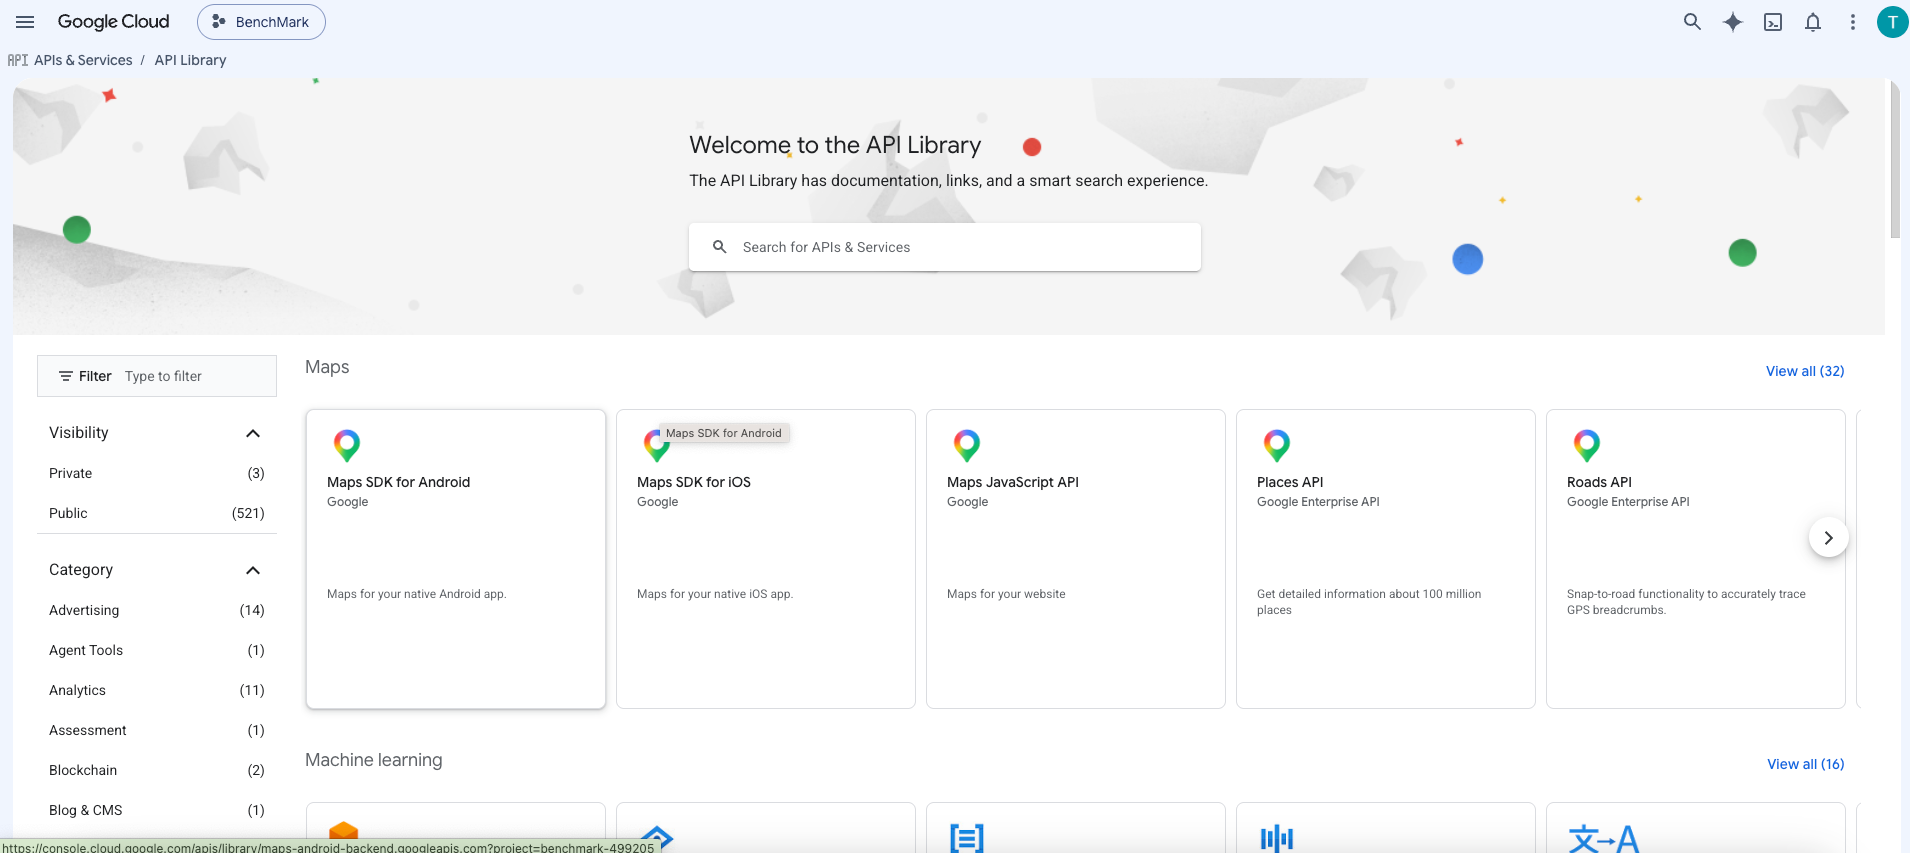
Step 3 – Enable the APIs you need
Years in Business
In the left-hand menu, go to APIs & Services > Library. This is where you switch on the specific Google services your website uses.
You can enable every Maps API if you like, but here’s the recommended minimum that covers most website features:
- Maps JavaScript API — interactive maps on the page
- Maps Embed API — simple embedded maps
- Maps Static API — image-based maps
- Places API — address autocomplete and place search
- Geocoding API — turns addresses into map coordinates
- Geolocation API — finds a user’s approximate location
- Directions API — driving and walking directions
- Distance Matrix API — travel times and distances between points
Search for each one by name, click it, then click Enable. Repeat for each API on the list.
A quick note: Google reclassified a few of these (Places, Directions, and Distance Matrix) as “Legacy” services in 2025. They still work perfectly well for standard website features, and newer versions exist for advanced builds. If you’re not sure which you need, enable the list above and we’ll confirm the right set for your site.
Step 4 – Create your API key
Now for the key itself.
- Go to APIs & Services > Credentials in the left menu.
- Click Create credentials at the top.
- Select API key.
Google generates a long string of letters and numbers. That’s your key. Copy it somewhere safe — you’ll share this with us.
Don’t close the box yet. The next step is the important one.
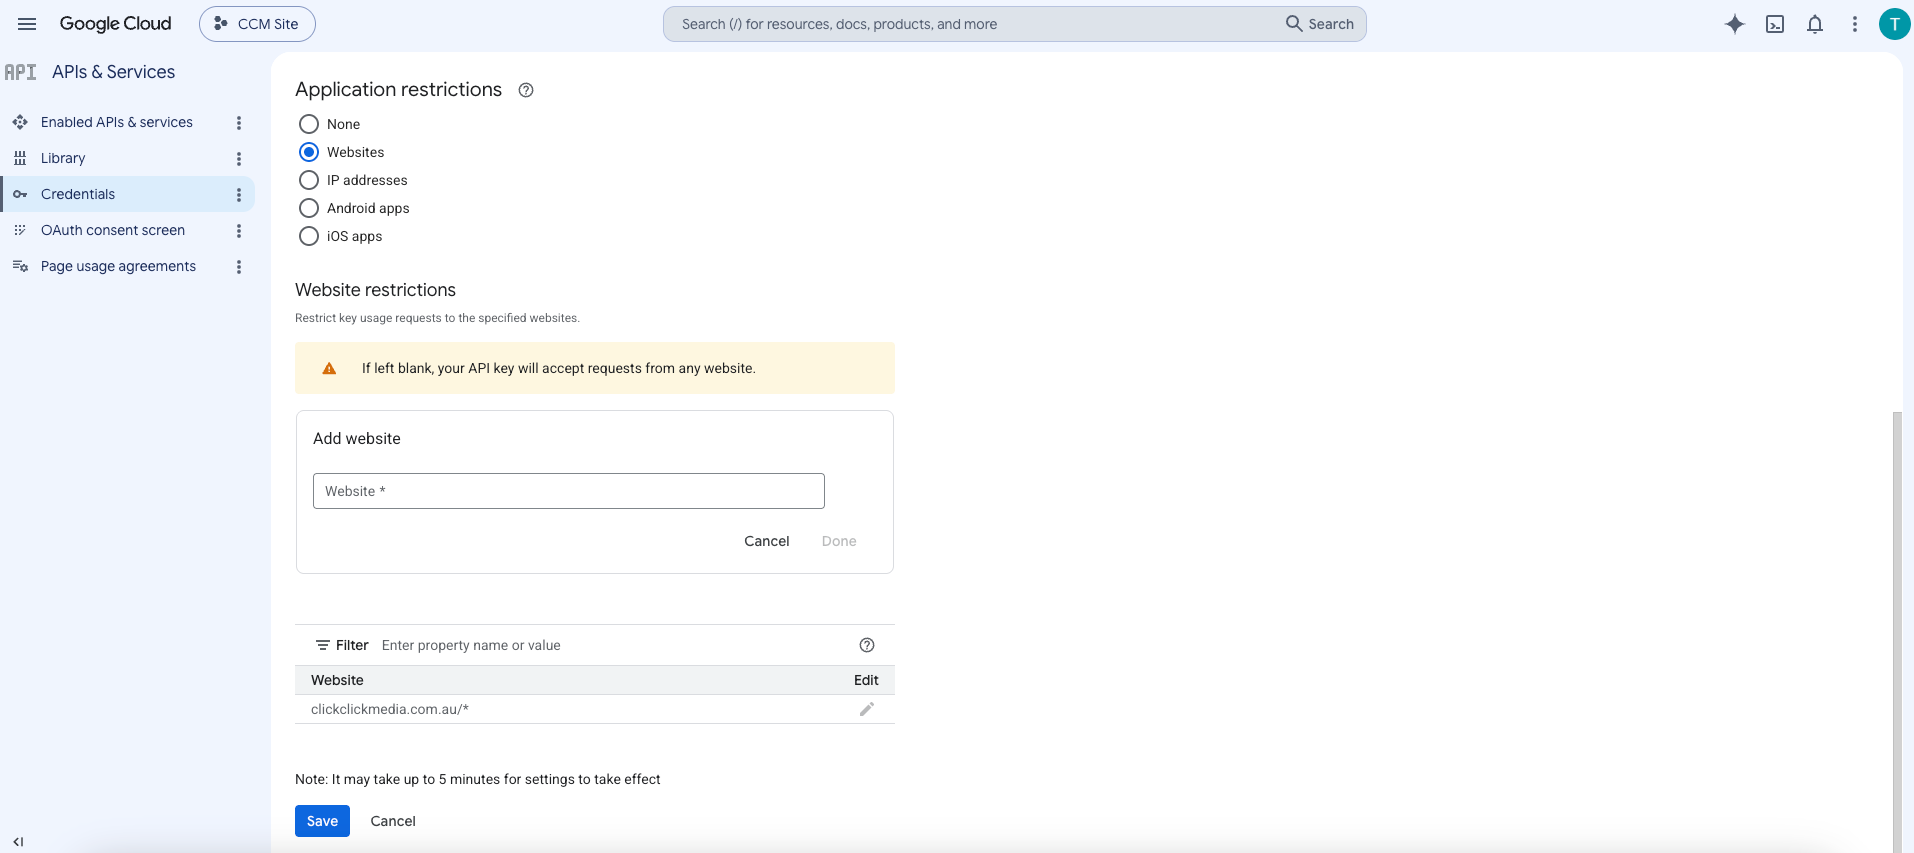
Step 5 – Restrict your key (don’t skip this)
An unrestricted API key is a liability. If someone copies it off your live site, they can rack up usage on your account. Restricting the key means it only works on your own websites — anywhere else, it simply won’t function.
In the key settings, click Restrict Key, then:
- Under Application restrictions, select HTTP referrers (websites).
- Click Add an item and enter your domain in this format: https://*.yourdomain.com.au/*
- Click Add an item again and add our domain so the maps render during build and preview: https://*.clickclickmedia.com.au/*
- Add any extra domains you use (staging sites, alternate spellings) the same way.
- Click Save.
That’s it. Your key now only works where it’s supposed to.
Step 6 – Turn on billing
Last piece. Without a billing account attached, your key won’t make live requests, even with everything else set up.
- Go to Billing in the left menu.
- If you already have a Google billing account, click Link a billing account and connect it.
- If you don’t, click Manage billing accounts, then Create account, and follow the prompts.
- Enter your business details and a payment method when asked.
Google may ask a few questions about your account type and run a small temporary authorisation on your card to verify it. That’s standard. It isn’t a charge.
Once billing is linked to your project, your key is live.
Step 7 – Hand it over
Send us the API key and you’re done. We’ll plug it into your site, confirm the maps render correctly on every page, and double-check the restrictions are working as they should.
If anything looks off — a map showing a “For development purposes only” watermark, or a grey box where the map should be — that’s almost always a billing or restriction setting, and it’s a quick fix.
The short version
- Sign in to the Google Cloud Console.
- Select or create a project.
- Enable the Maps APIs you need.
- Create an API key under Credentials.
- Restrict it to your domains.
- Link a billing account.
- Send us the key.
Ten minutes, and your maps are sorted, with full ownership staying in your hands.
Need a hand?
If you’d rather we handled the whole thing, or you’ve hit a snag halfway through, just reach out. Setting up infrastructure like this so it’s secure, owned by you, and costing you nothing is exactly the kind of unglamorous-but-important work we do every day.
Talk to our web team and we’ll walk you through it.
Want the official source on pricing and free usage limits? Google publishes the full breakdown in its Maps Platform billing and pricing overview.